How Does Android Wear Work?
By Michael Hahn, August 2018
The easiest way to learn how to develop Android Wear applications is to install the Wear OS by Google Smartwatch on your handheld device, pair with an Android watch or emulator, and try out the Android sample projects.
Set Up the Development Environment
To try out Android Wear in a development environment, perform the following tasks:
- Verify that you have a current Java JDK installed by running the following commands from a console:
java -version
  java version "1.8.0_101"
  Java(TM) SE Runtime Environment (build 1.8.0_101-b13)
  Java HotSpot(TM) 64-Bit Server VM (build 25.101-b13, mixed mode)

javac -version
  javac 1.8.0_10
Both commands should display version 1.8. If not, install the Oracle Java SE Development Kit.
- Download the Android Studio Package for your host and follow the installation instructions.
- Start Android Studio (android-studio/bin/studio.sh). If you have a previous installation, you can import settings from there. Otherwise, a wizard walks you through the new installation setup procedure.
- For convenience, add a desktop shortcut or menu item to launch Android Studio.
Set Up Your Handheld Device
- Launch Google Play and Install the ‘Wear OS by Google Smartwatch’ app on your handheld device.
Start the Wear OS app.
The first time you launch the app, an onscreen message reminds you that Android Wear is not a notification listener. Follow the onscreen instructions.
Enable USB debugging on your handheld device. Open Settings, Developer Options, USB Debugging, enable.
Your handheld device disables USB debugging by default, and the option to enable it can be hidden as well. For Samsung Galaxy, you must open Options, select About Phone,, Software Information and then click Build Number seven times. This adds Developer Options to the Options menu, so you can enable USB debugging.
- Connect your handheld device to the computer with a USB cable.
Accept any warning or security messages displayed on either the handheld device or computer.
- Verify that the handheld device successfully connected to the computer using the following command:
adb devices
List of devices attached
a1b2c3d5 device
If a device is not displayed or it displays with an error such as unauthorized, you must resolve that problem before proceeding.
Note: The adb executable is located in the Platform Tools directory of your Android SDK. Add it to your path if necessary.
Set Up Your Wearable
You can try the sample apps using either an Android device or emulator. A wearable initially displays the default watchface, which varies by device. An emulator generally defaults to a digital watch face on a sky background. Notifications are displayed as they arrive at the bottom of the display. The following example shows that it is early in the morning and you have not exercised yet.
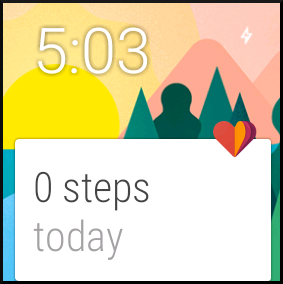
You can swipe vertically to scroll through other notifications, swipe to the right to delete the current notification, and swipe to the left to view any associated actions. The notifications displayed on the wearable are the same as those listed in the handheld, in the action bar pull down.
Android Emulator Setup
Start the Android AVD Manager. In Android Studio, select Tools > Android > AVD manager.
Click Create Virtual Device to define a new Android Wear emulator.
Select Wear in the Category pane and then choose a hardware profile. Click Next.
Select a system image. For example choose Nougat API Level 25 for an Android Wear 2 wearable. If necessary, click Download and wait for the download to complete.
Click Next. The Verify Configuration dialog is displayed.
Scroll down and click Show Advanced Settings and select **Enable Keyboard Input.
Verify the configuration for the new Wearable emulator and click Finish.
Click OK to save your changes.
Click the start icon of your new emulator to launch it.
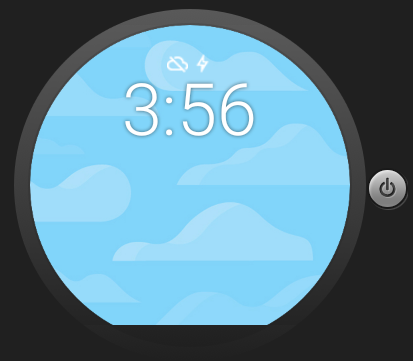
An Android Wear Version 1 emulator initially displays the time with two icons on a cloud background.
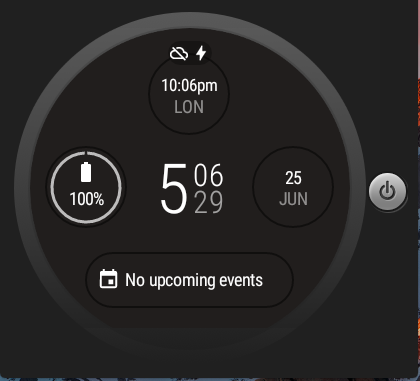
A Version 2 emulator shows the a new watch face with the time surrounded by the charge level, date, upcoming events, or other Tourbillon.
Start an Emulator Debug Session
- Enter the following command in a command window.
adb -d forward tcp:5601 tcp:5601
- In the Wear OS on the handheld, select Add a new watch from the dropdown menu on the left.
- In the window that opens, choose Pair with emulator from the dropdown menu.
When the Wear OS successfully pairs with the emulator, the action bar displays Emulator Connected.
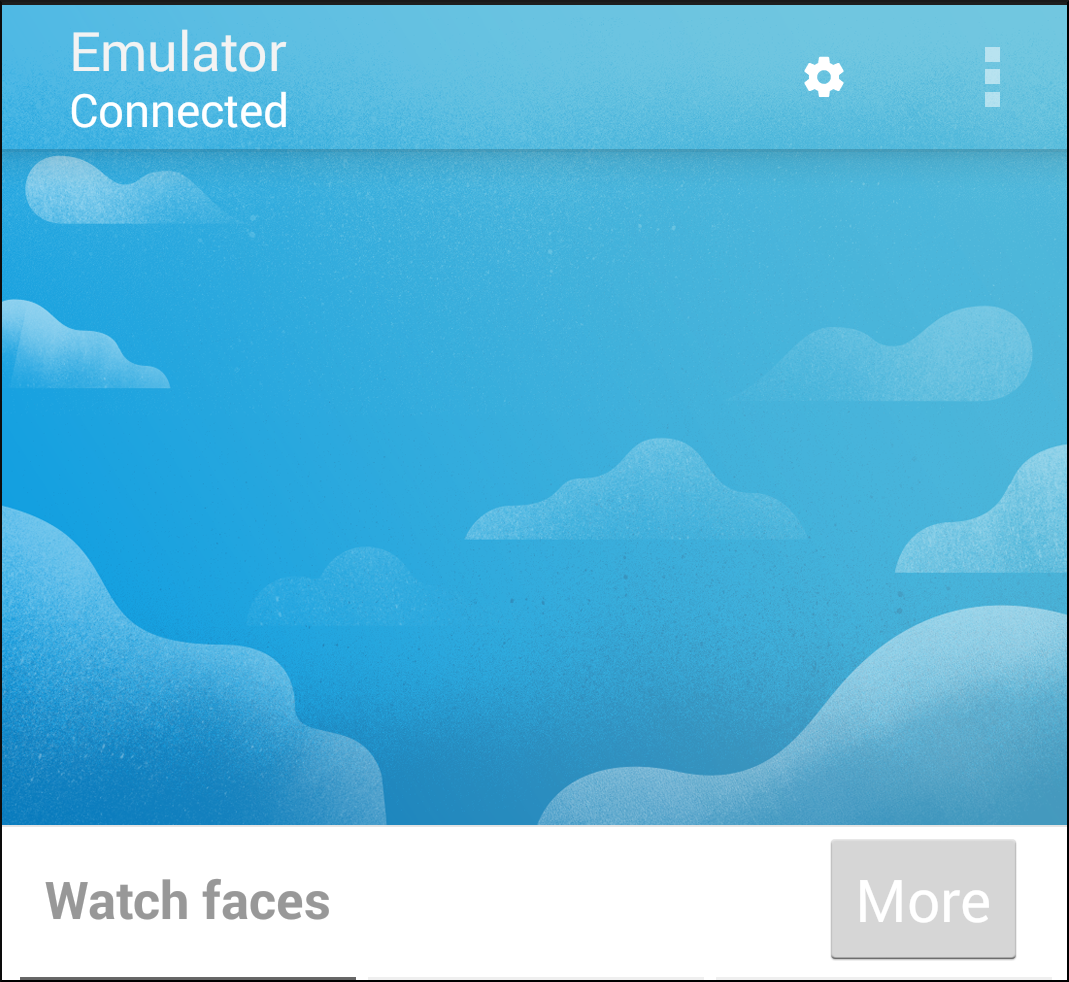
On the emulator, the cloud icon disappears, and notifications are displayed as they are received.
Wearable Device Setup
Pair a wearable device with your handheld using the Wear OS.
When you first pear with your wearable, the Wear OS provides a short tutorial that introduces the Wearable UI and basic functionality. From the main UI where you can then change the watchface, enable voice actions, and browse suggested apps.
Enable bluetooth debugging on the wearable. Select Settings, Developer, ADB Debugging and Debug over bluetooth.
Your wearable device disables USB debugging by default, and the option to enable it can be hidden as well. You must open Settings, select About, and then click Build Number seven times. The Settings menu then includes Developer options, where you can enable debugging over bluetooth.
Start a Wearable Device Debug Session
On the handheld, open the Wear OS.
Scroll down to Settings and select Advanced Settings. The Settings dialog is displayed. Enable Debugging Over Bluetooth.
Enable Debugging over Bluetooth. The following is displayed initially:
Host: disconnected
Target: connected
Enter the following command on your computer.
adb forward tcp:4444 localabstract:/adb-hub
adb connect localhost:4444

Note: For IPv4 hosts you can substitute 127.0.0.1 for localhost.
The Debugging Over Bluetooth setting changes to the following:
Host: connected
Target: connected
Next Steps
You are now up and running with Android Wear, and ready to move on to your first wearable app. Initially, you write an app that can display notifications and receive user inputs from a wearable device, but runs code on the handheld device only. Later you can develop more powerful software that runs Android code on the wearable device as well.